
Night photography opens up a whole new world of creative possibilities, allowing photographers to capture the beauty of the night in unique and mesmerizing ways. Whether you’re shooting cityscapes, landscapes, or portraits, mastering low-light photography can be challenging but incredibly rewarding. In this comprehensive guide, we’ll explore essential tips and techniques to help you take incredible night photos.
Table of Contents
Understanding Night Photography
Night photography involves capturing images in low-light conditions, typically after sunset. The lack of natural light requires photographers to use specific techniques and equipment to achieve the desired results. Here are some fundamental aspects to consider:
- Light Sources: Utilize available light sources such as streetlights, moonlight, and artificial lights to illuminate your subject.
- Long Exposure: Increase the exposure time to allow more light to reach the camera sensor, resulting in brighter images.
- ISO Settings: Adjust the ISO settings to make the camera sensor more sensitive to light, but be cautious of noise.
Essential Equipment for Night Photography
Having the right gear is crucial for successful night photography. Here’s a list of essential equipment:
- Camera: A DSLR or mirrorless camera with manual settings is ideal.
- Lens: A fast lens with a wide aperture (f/2.8 or lower) helps capture more light.
- Tripod: A sturdy tripod is essential for long exposure shots to avoid camera shake.
- Remote Shutter Release: This prevents camera shake when pressing the shutter button.
- Flashlight: Useful for adjusting settings and navigating in the dark.
Best Camera Settings for Night Photography
- Aperture: Use a wide aperture (low f-number) to allow more light into the camera.
- Shutter Speed: Experiment with longer shutter speeds to capture more light. Start with 10-30 seconds and adjust as needed.
- ISO: Keep the ISO as low as possible to reduce noise, but increase it if the image is too dark.
- White Balance: Set the white balance to auto or adjust manually based on the light sources.
- Focus: Use manual focus to ensure sharp images. Focus on a bright spot or use live view zoom to fine-tune.
Techniques for Stunning Night Shots
- Light Trails: Capture the movement of cars or stars by using long exposure. Use a tripod and set the shutter speed to 10-30 seconds.
- Star Photography: Find a location with minimal light pollution. Use a wide aperture and a high ISO. Experiment with different exposure times to capture the stars without overexposing the image.
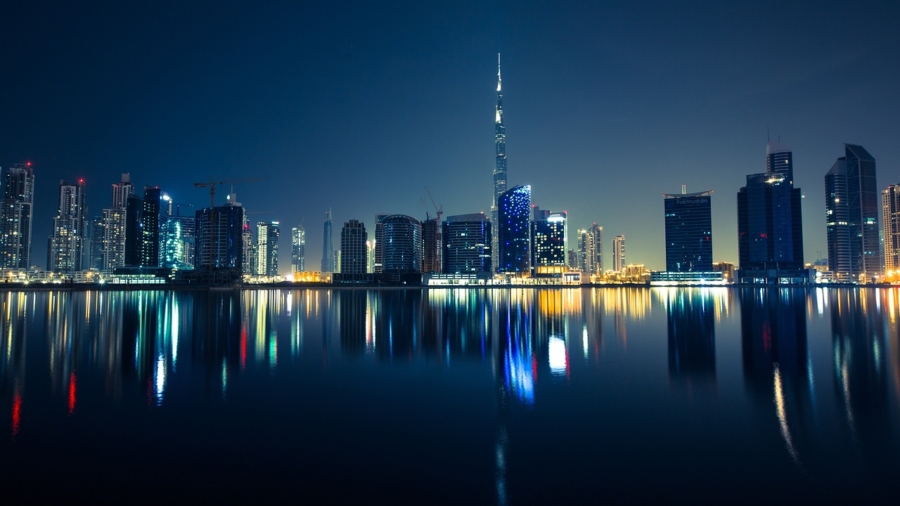
- Cityscapes: Utilize the city lights to your advantage. Use a narrow aperture (high f-number) to achieve a starburst effect from streetlights.
- Reflections: Look for water bodies or reflective surfaces to add an interesting element to your composition.
- Painting with Light: Use a flashlight or other light sources to illuminate parts of the scene or create patterns.
Post-Processing Tips
Editing your night photos is crucial to enhance the final image. Here are some tips:
- Noise Reduction: Use noise reduction software or the noise reduction feature in your editing software to minimize graininess.
- Adjust Exposure: Fine-tune the exposure to bring out details in the shadows and highlights.
- Enhance Colors: Boost the saturation and vibrance to make the colors pop.
- Sharpening: Apply sharpening to enhance the details, but be cautious not to overdo it.
FAQs
Q: What is the best time for night photography? A: The best time for night photography is typically during the blue hour (just after sunset) or when the sky is completely dark.
Q: How do I focus in low light conditions? A: Use manual focus and focus on a bright spot or distant light. Alternatively, use live view zoom to fine-tune the focus.
Q: How can I reduce noise in my night photos? A: Use a low ISO setting, and apply noise reduction during post-processing. Shooting in RAW format also helps in reducing noise.
Q: What is light painting? A: Light painting involves using a flashlight or other light sources to illuminate parts of the scene or create patterns during a long exposure.
Q: Can I use a smartphone for night photography? A: Yes, many smartphones have advanced camera settings and night modes that can produce impressive results in low-light conditions.
Conclusion
Night photography can be a thrilling and rewarding pursuit, allowing you to capture the beauty and mystery of the night. By understanding the fundamentals, using the right equipment, and mastering essential techniques, you can take stunning low-light shots that stand out. Remember to experiment with different settings and compositions, and don’t be afraid to push the boundaries of your creativity. Happy shooting!
[…] and tips outlined in this guide, you can capture mesmerizing light trails and enhance your night photography skills. Remember to experiment with different settings and compositions to find your unique style. […]